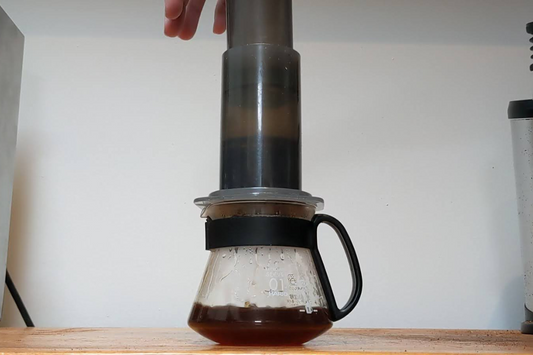
The Aeropress
The brewer that needs zero introduction.
When we think about our favourite brewers, this little beauty is right there in the mix.
Perfect for travel and outdoor adventures, this versatile and extremely capable brewer has the capacity to churn out some incredible, balanced, rounded and super sweet brews.
If you know how to use it.
So today, as part of our How To Brew series, we're going to break down our current go-to Aeropress recipe, to help you get to tasty Aeropress coffee quickly.
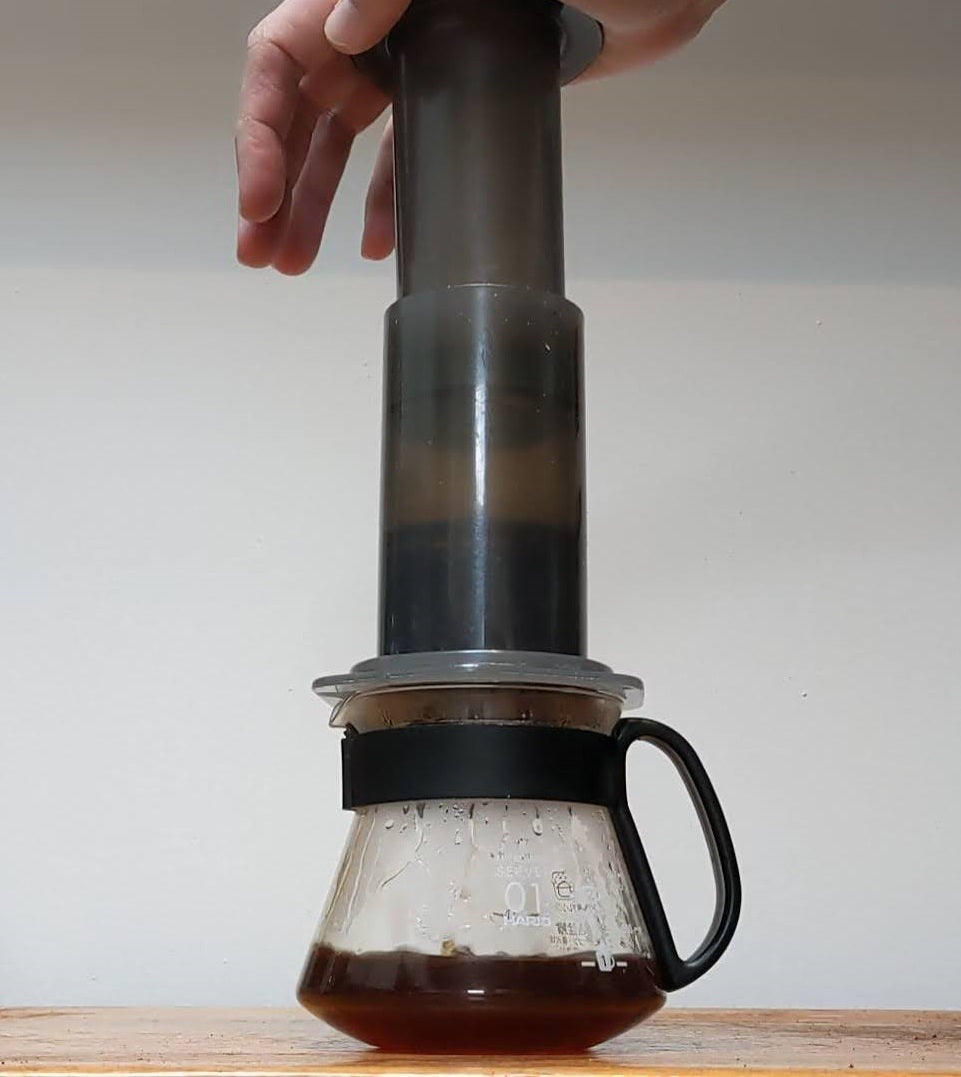
How To Brew Great Coffee On An Aeropress
-

Quick Overview
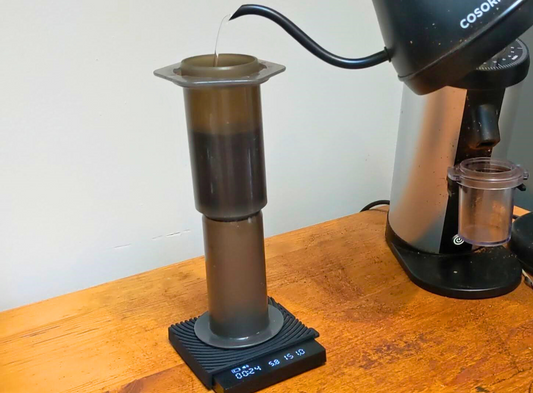
Coffee Dose: 14g
Water: 200g
Water Temp: 212F
Grind Size: Fine (see below)
Total Brew Time: 2:30
Additional Tips
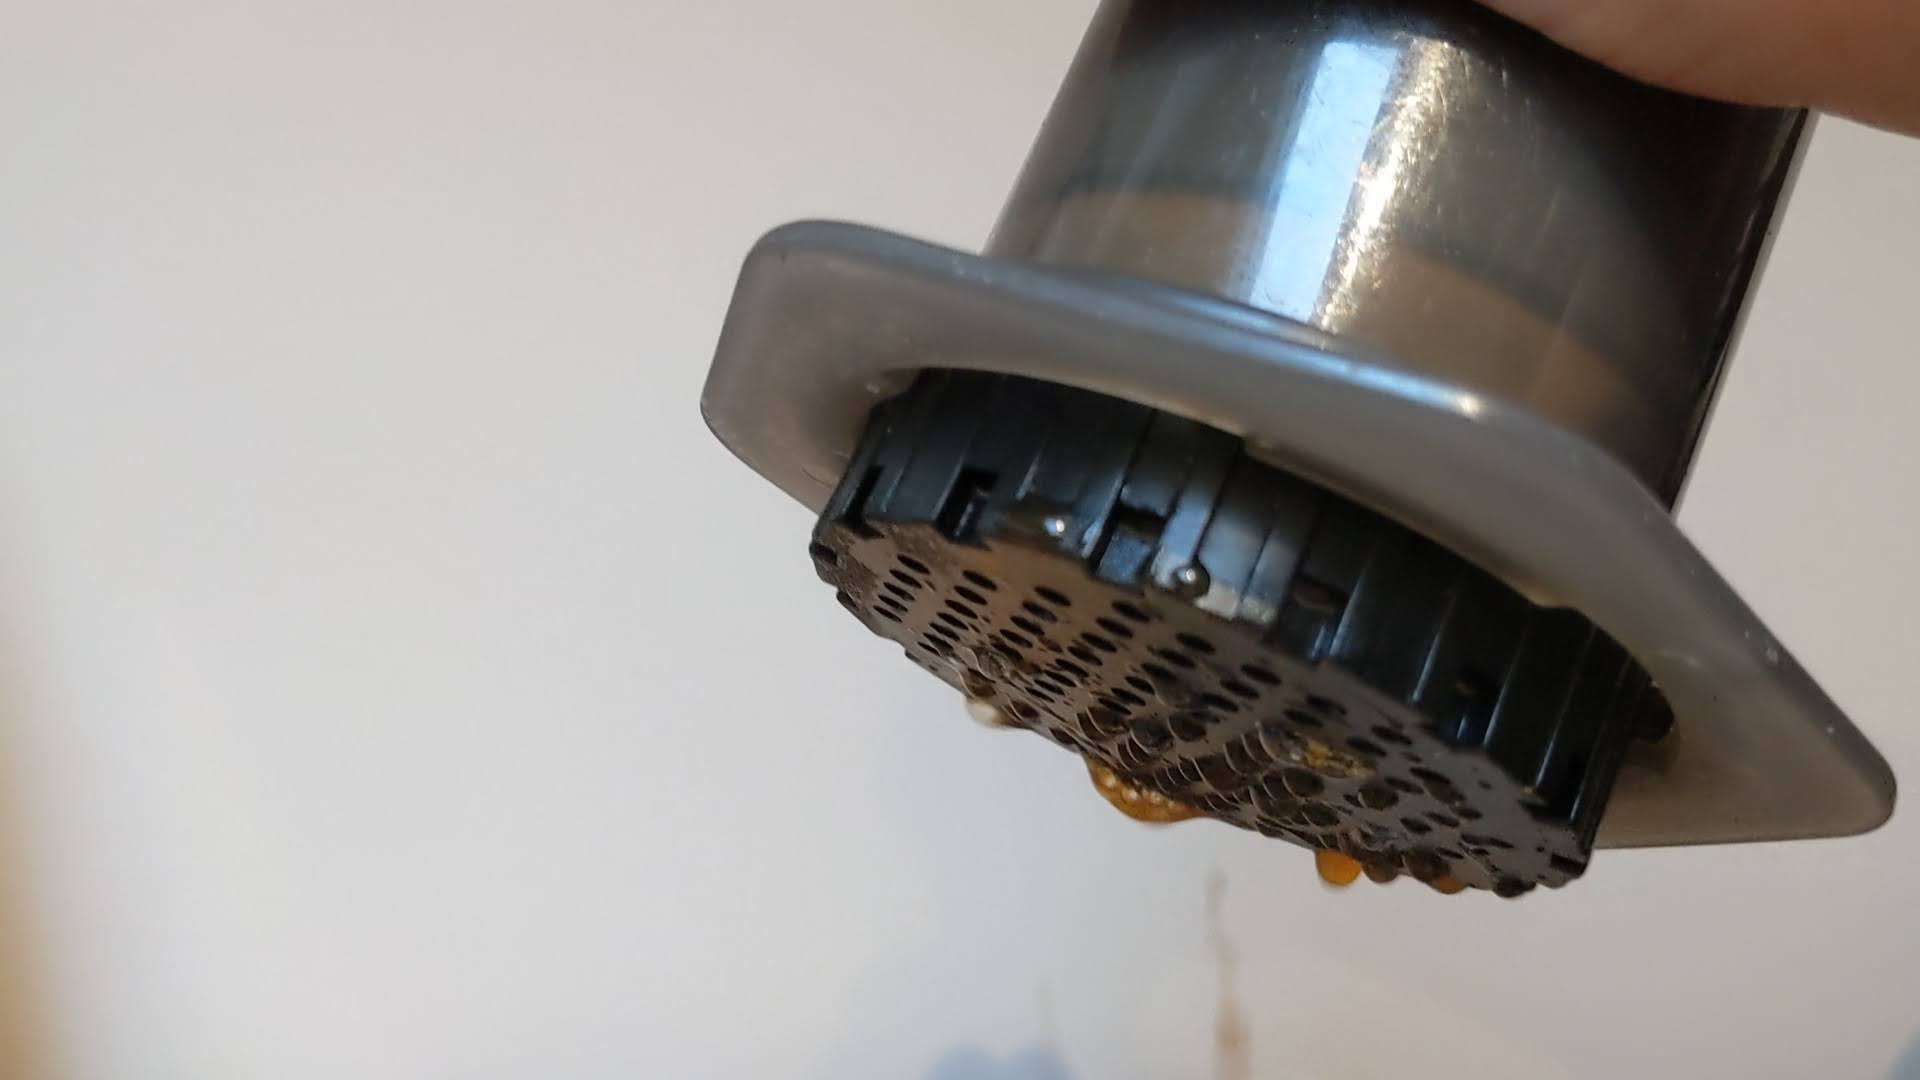
Avoid pressing too hard on the plunge. You should be able to push down easily without having to push-push. If you can't easily plunge the whole brew in 30 seconds, you might be grinding a little too fine.

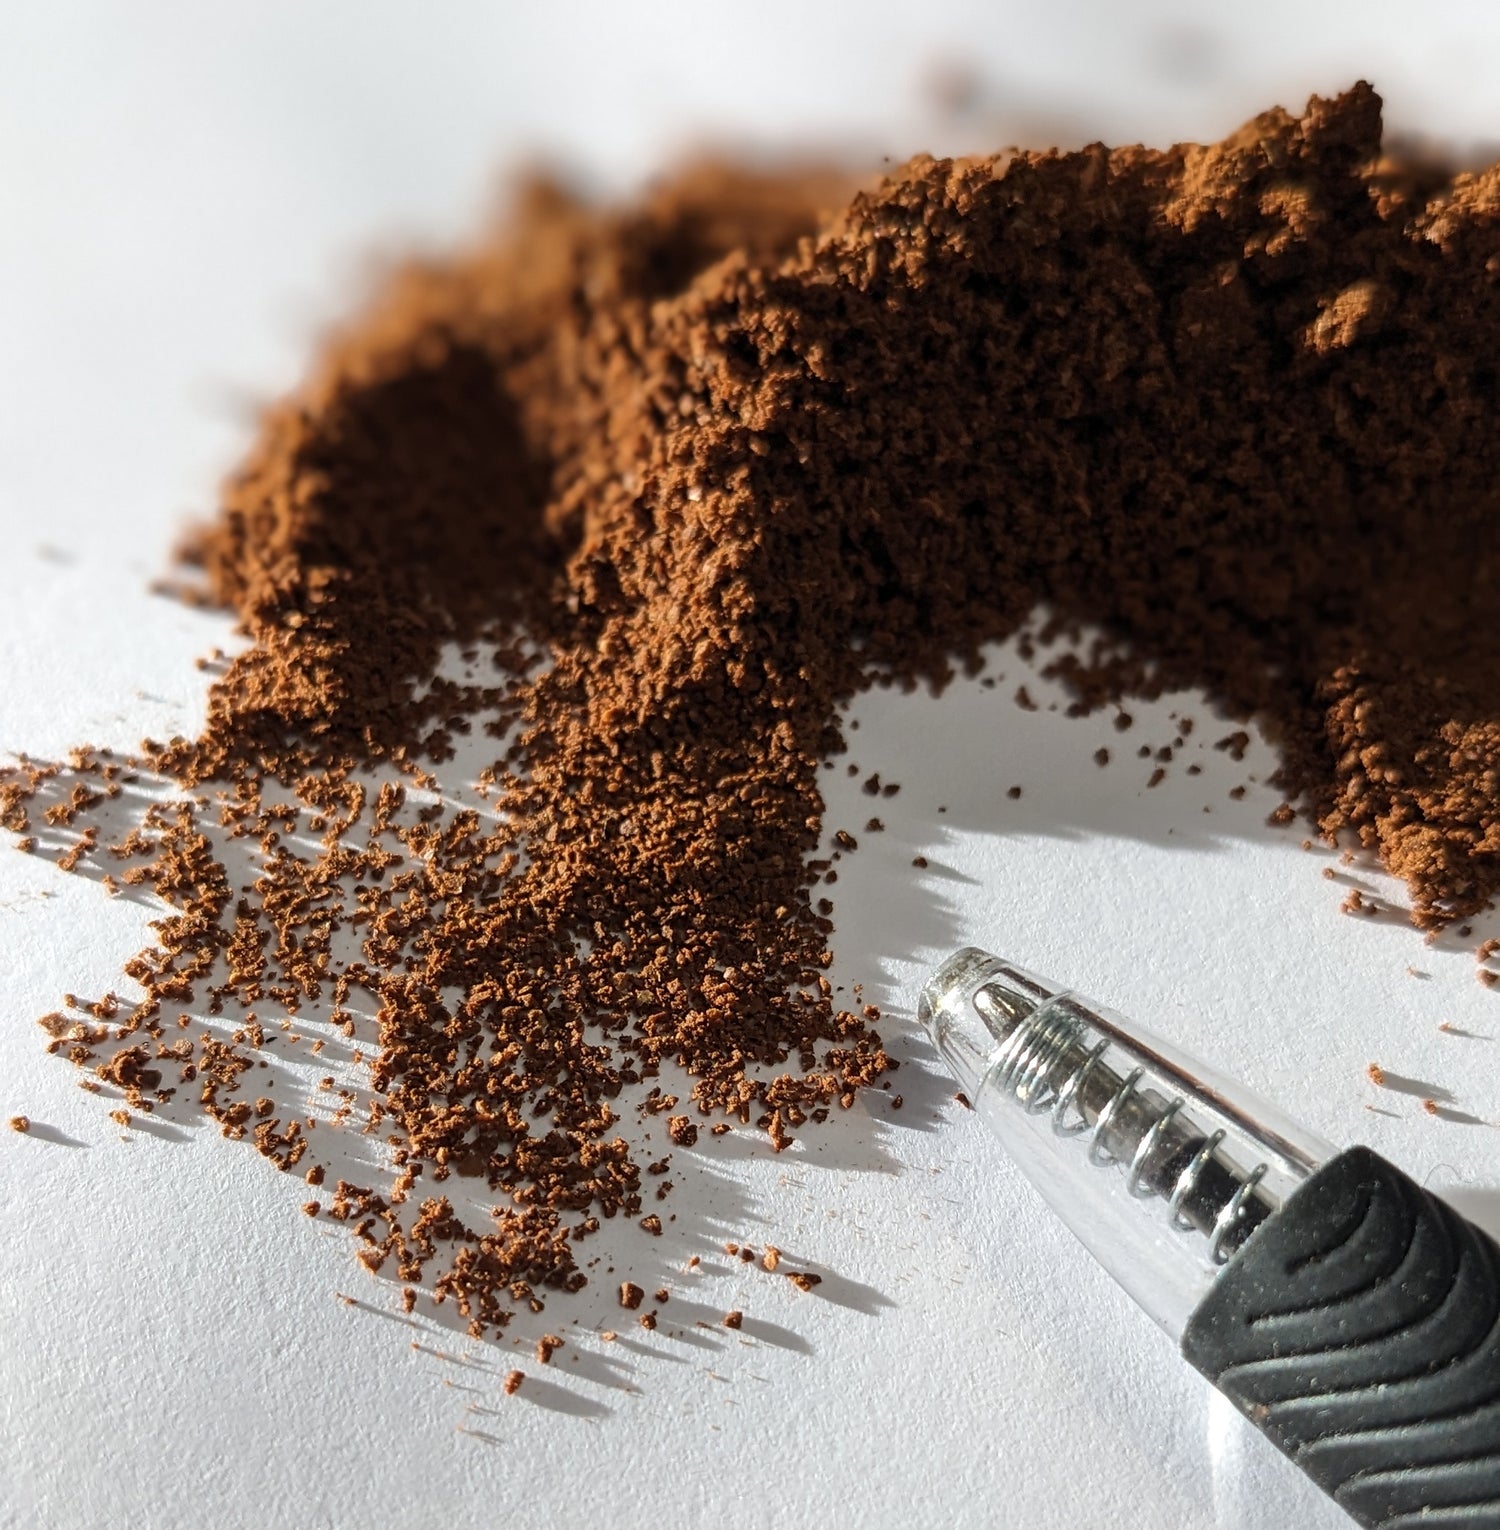
Aeropress Grind Size
One mistake that a lot of people (myself included) make when first getting started with the Aeropress, is not grinding fine enough.
Being an immersion brewer, it's actually harder than you think to over extract an Aeropress brew.
So you can grind finer than you might think, and still get great cups, and higher extractions.
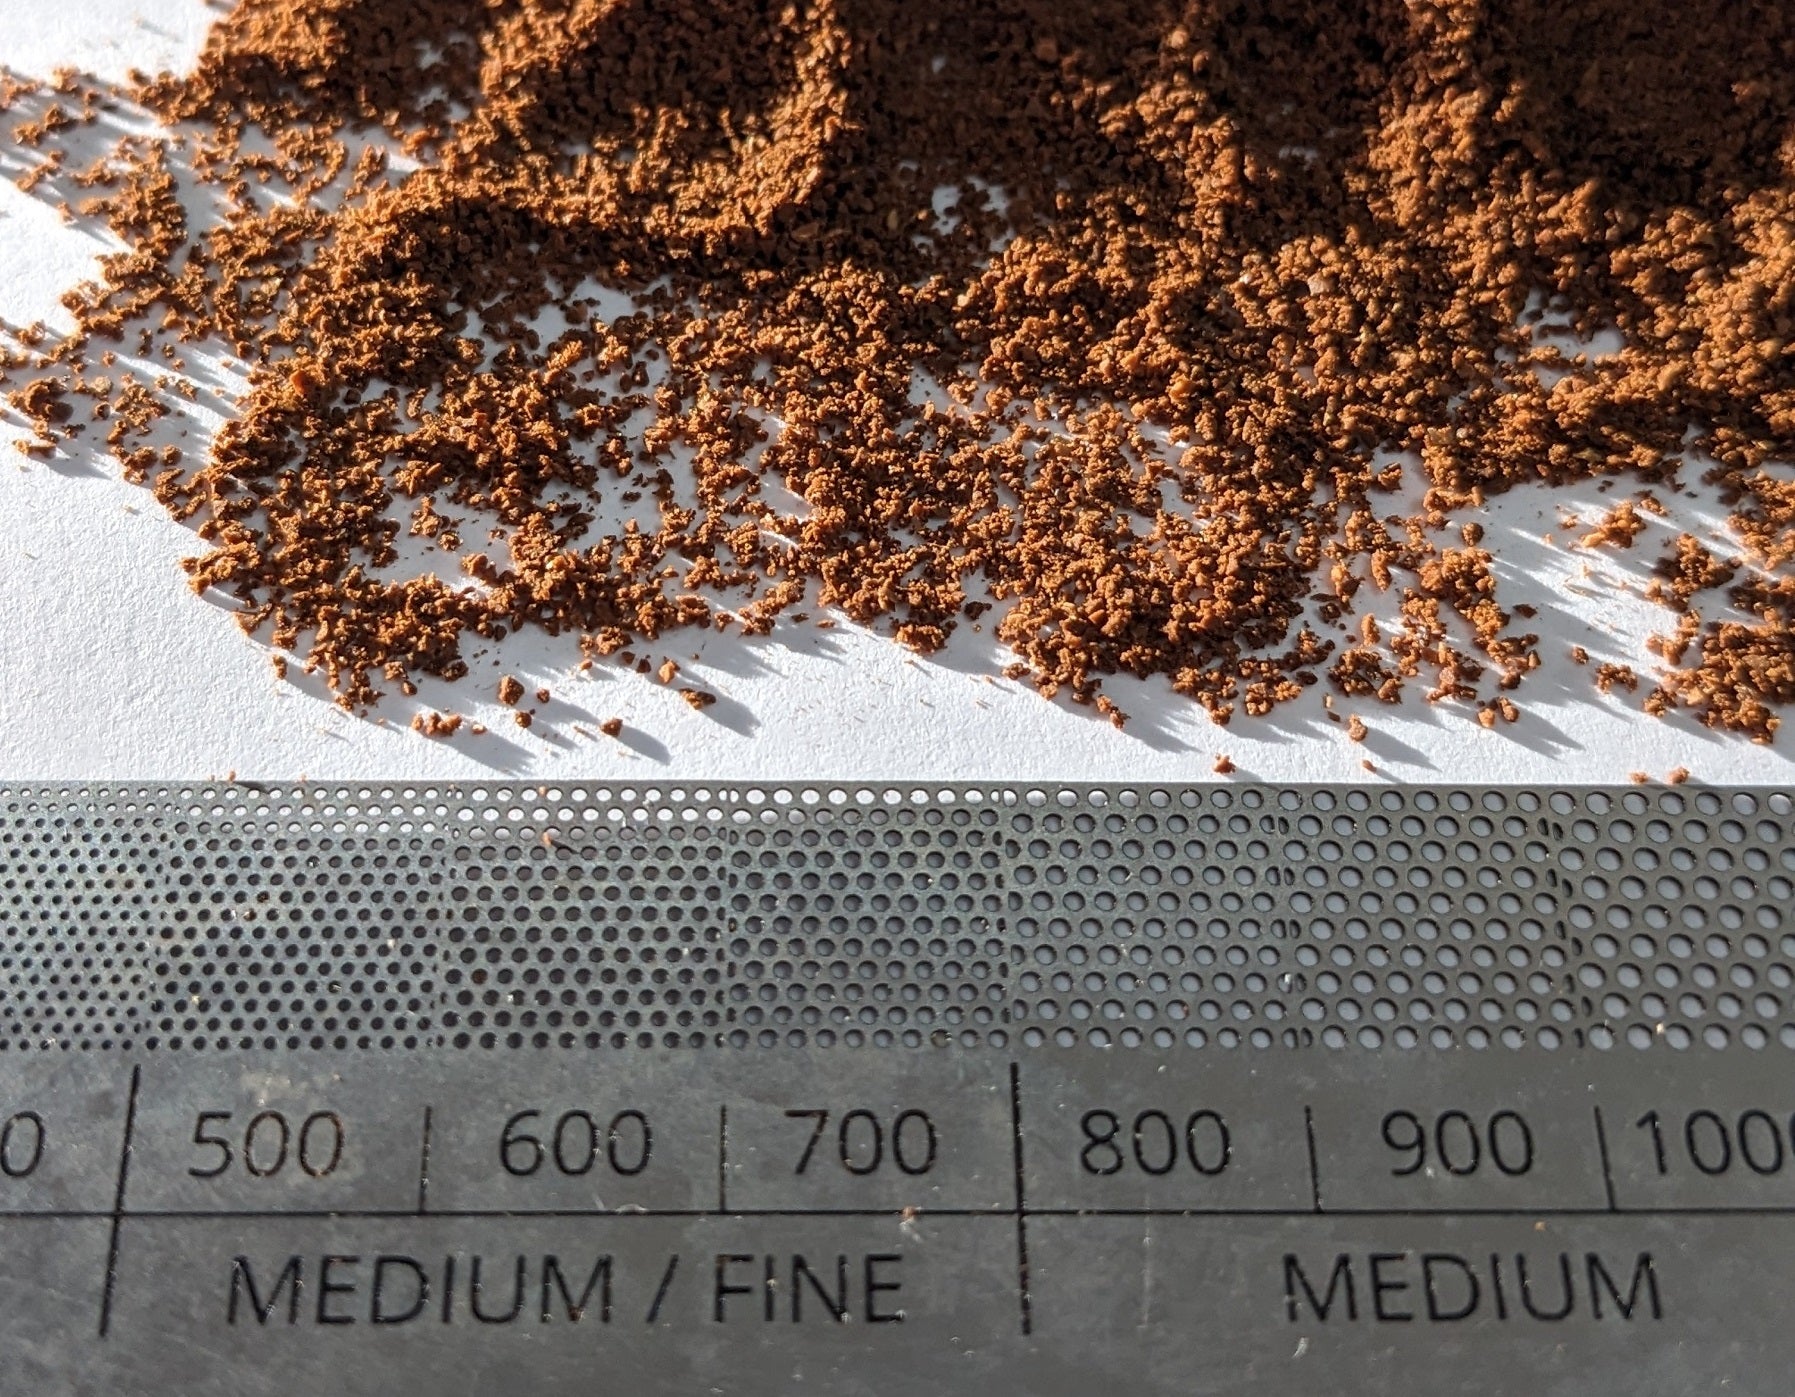
The photo on the left, or above if you're on a mobile, shows you our usual starting point for an aeropress grind size.
Of course, you'll need to fine tune from here as you dial in each coffee. But something like this is where we usually start from with any of our coffees.
This grind size is a lot finer than the grind size we recommend for our V60 pour over recipe, but trust us, you're gunna have a good time.
And here's that grind size one more time, this time with the Brewler. We're probably at around 500-600 microns.
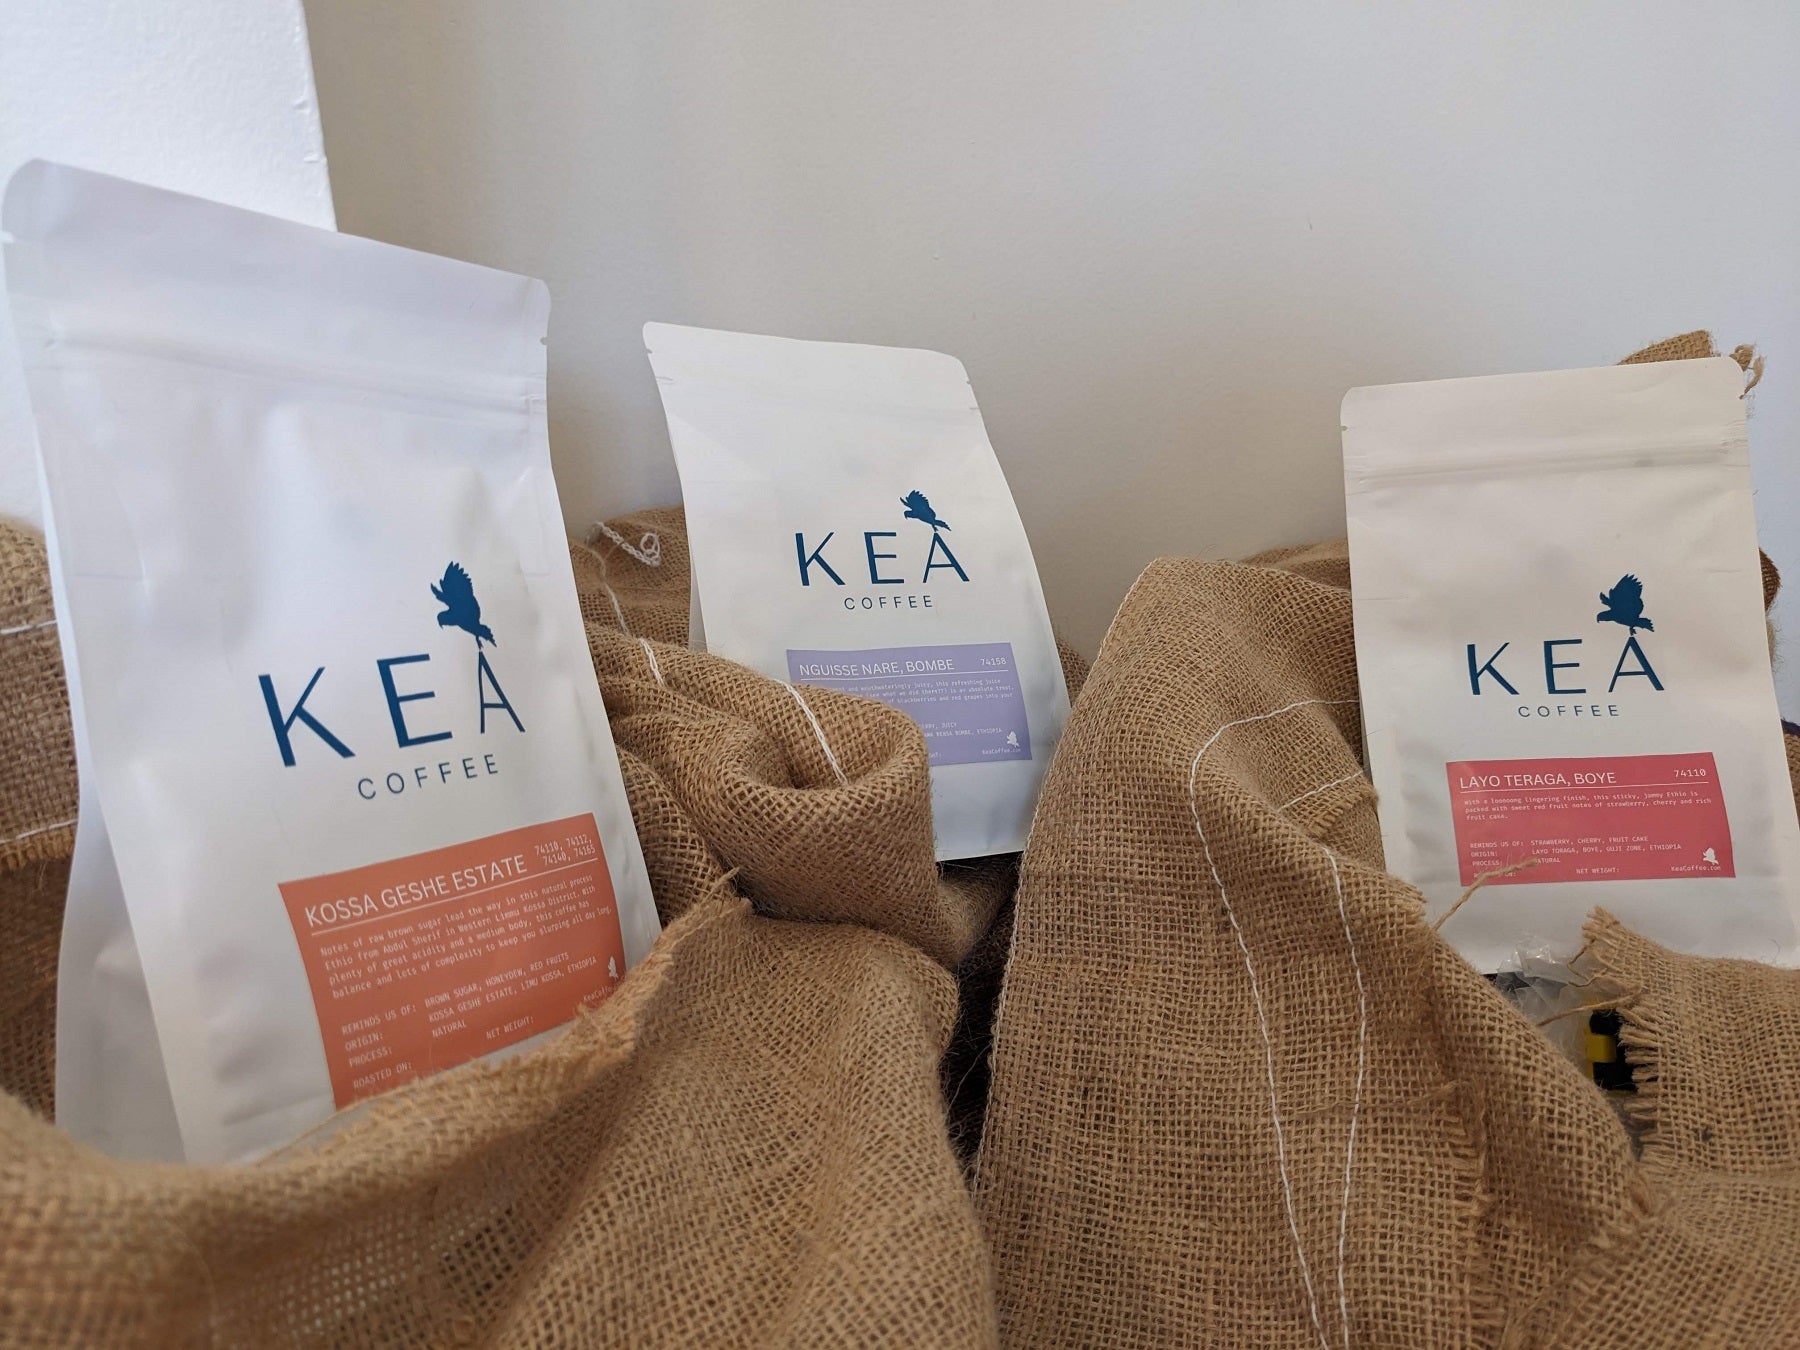
Single Origin Coffees For Aeropress
-
Ethiopia - Gigesa | Washed
Jasmine ~ Lemon ~ Peach ~ Honey ~ Green TeaRegular price $26.00 CADRegular priceUnit price per -
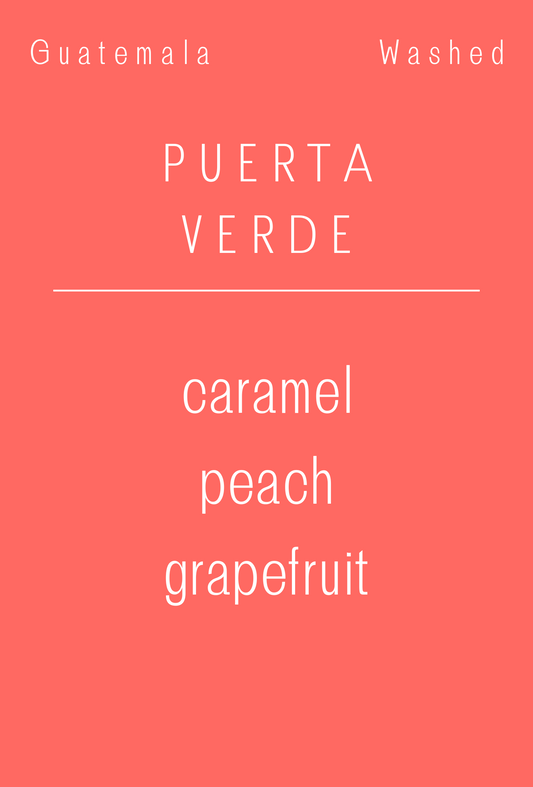
Guatemala - Ricardo Zelaya | Bourbon
Caramel ~ Peach ~ GrapefruitRegular price From $20.00 CADRegular priceUnit price per -
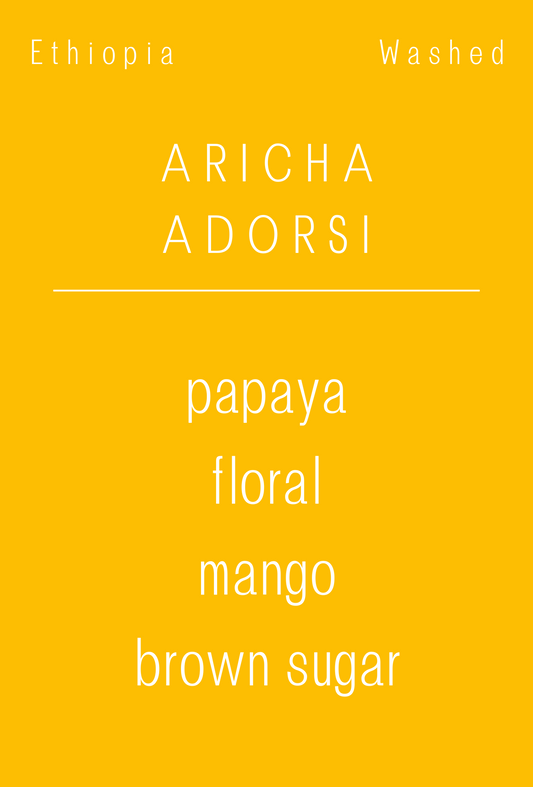
Ethiopia - Aricha Adorsi
Papaya ~ Floral ~ Mango ~ Brown SugarRegular price $26.00 CADRegular priceUnit price per -
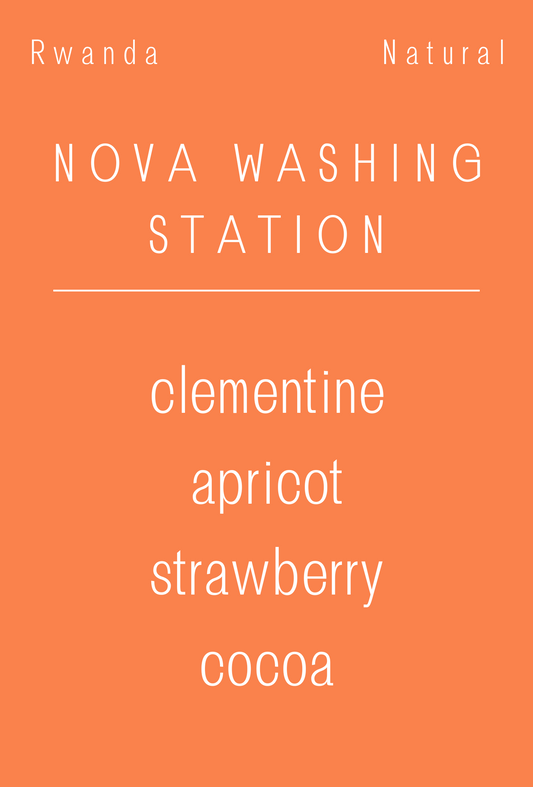
Rwanda - Nova Washing Station | Natural | Bourbon
Clementine ~ Apricot ~ Strawberry ~ CocoaRegular price From $23.00 CADRegular priceUnit price per -
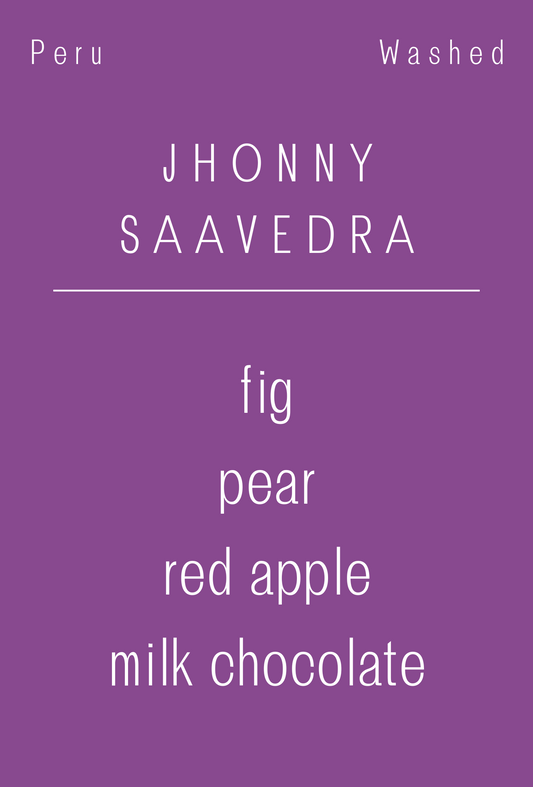
Peru - Jhonny Saavedra | Washed | Catuai
Fig ~ Pear ~ Red Apple ~ Milk ChocolateRegular price $27.00 CADRegular priceUnit price per

Our Latest Aeropress Tips & Tricks
-
What is the Aeropress inverted method?
The inverted Aeropress method is a way of brewing coffee with the Aeropress that eliminates the ability for any coffee to pass through the filter until your desired plunge time....
What is the Aeropress inverted method?
The inverted Aeropress method is a way of brewing coffee with the Aeropress that eliminates the ability for any coffee to pass through the filter until your desired plunge time....
-
4 Aeropress tips for tasty brews
We love the Aeropress. Simple, easy, repeatable .... there's a lot to love about this classic brewer. Today, we're going to dive straight in and share 4 tips and tricks...
4 Aeropress tips for tasty brews
We love the Aeropress. Simple, easy, repeatable .... there's a lot to love about this classic brewer. Today, we're going to dive straight in and share 4 tips and tricks...
-
Immersion Vs Filter Coffee Brewing
Aeropress, V60, French Press, Kalita Wave, Pourover, Immersion.... there's a lot of ways to make great coffee. Outside of espresso, we can bundle pretty much all of these options into...
Immersion Vs Filter Coffee Brewing
Aeropress, V60, French Press, Kalita Wave, Pourover, Immersion.... there's a lot of ways to make great coffee. Outside of espresso, we can bundle pretty much all of these options into...